HomeStage 3 · Learn a tradeWelding: risks, protection and fire prevention
By Global PrepperUpdated 3 official sourcesHow we make the guides
Stage 3 · Welding: risks, protection and fire preventionWelding: risks, protection and how to prevent fires
Welding repairs metal, but its fumes, light and fire are dangerous. Three steps: know the risks, protect yourself and prevent fires. Welding is learned in an in-person course.
- Fumes: they carry metals; ventilate and wear a respirator.
- Eyes and skin: helmet, leather gloves and clothing that covers everything.
- Fire: 35 ft (11 m) clear of flammables and watch for 30 minutes.
- Learn: with an instructor, in person.
Know the risks: fumes, light, gases and shocks
- Metal fumesWelding fume carries metals such as manganese, chromium and nickel. It irritates the eyes, nose and throat and, in the long term, damages the lungs and can cause cancer.
- Shielding gasesArgon, helium and carbon dioxide displace oxygen and can suffocate, especially in enclosed spaces.
- Light and shocksThe arc's light damages the eyes and sparks burn. OSHA also names electric shocks, cuts, and crushed fingers and feet.
- Stainless steelThe chromium in stainless steel turns into hexavalent chromium when welded, which damages eyes, skin and lungs and can cause cancer.
If you feel dizzy or your throat burns, get out into fresh air right away and seek medical attention.
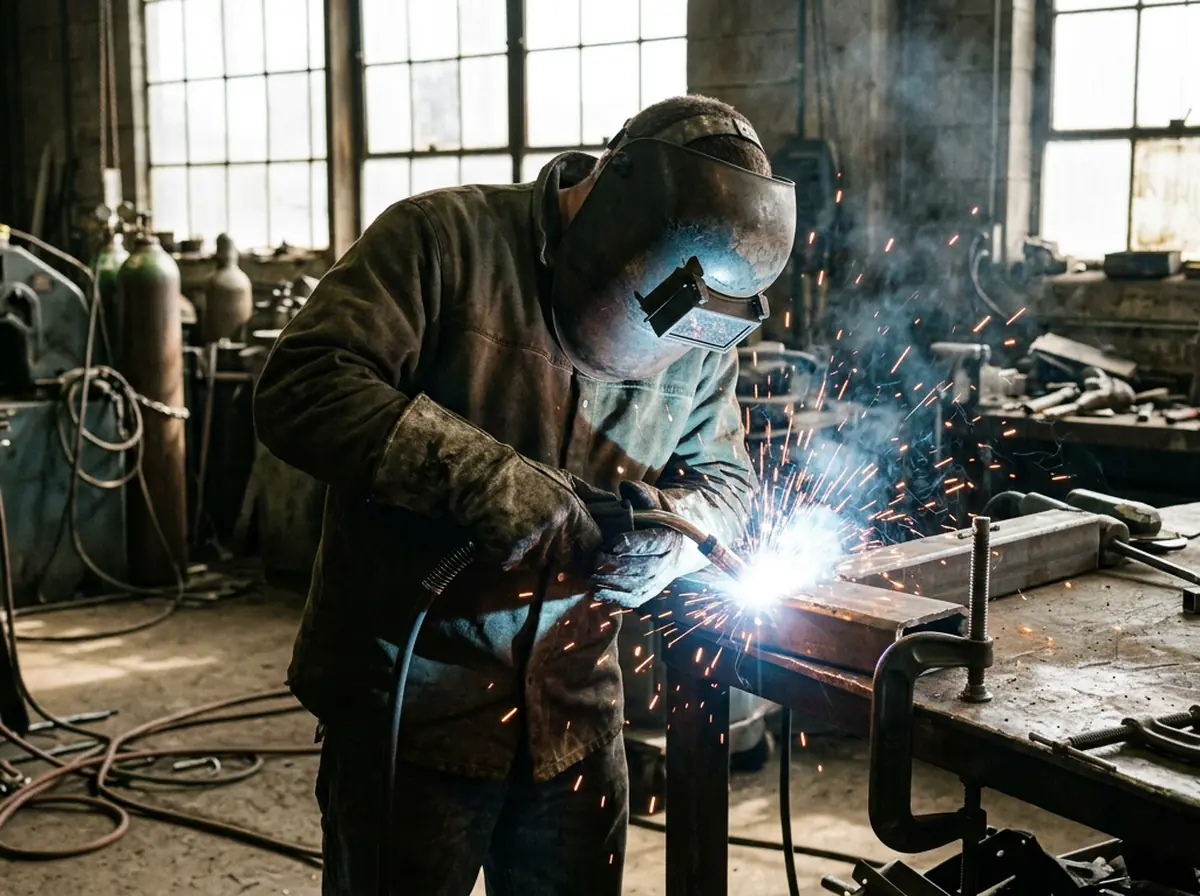
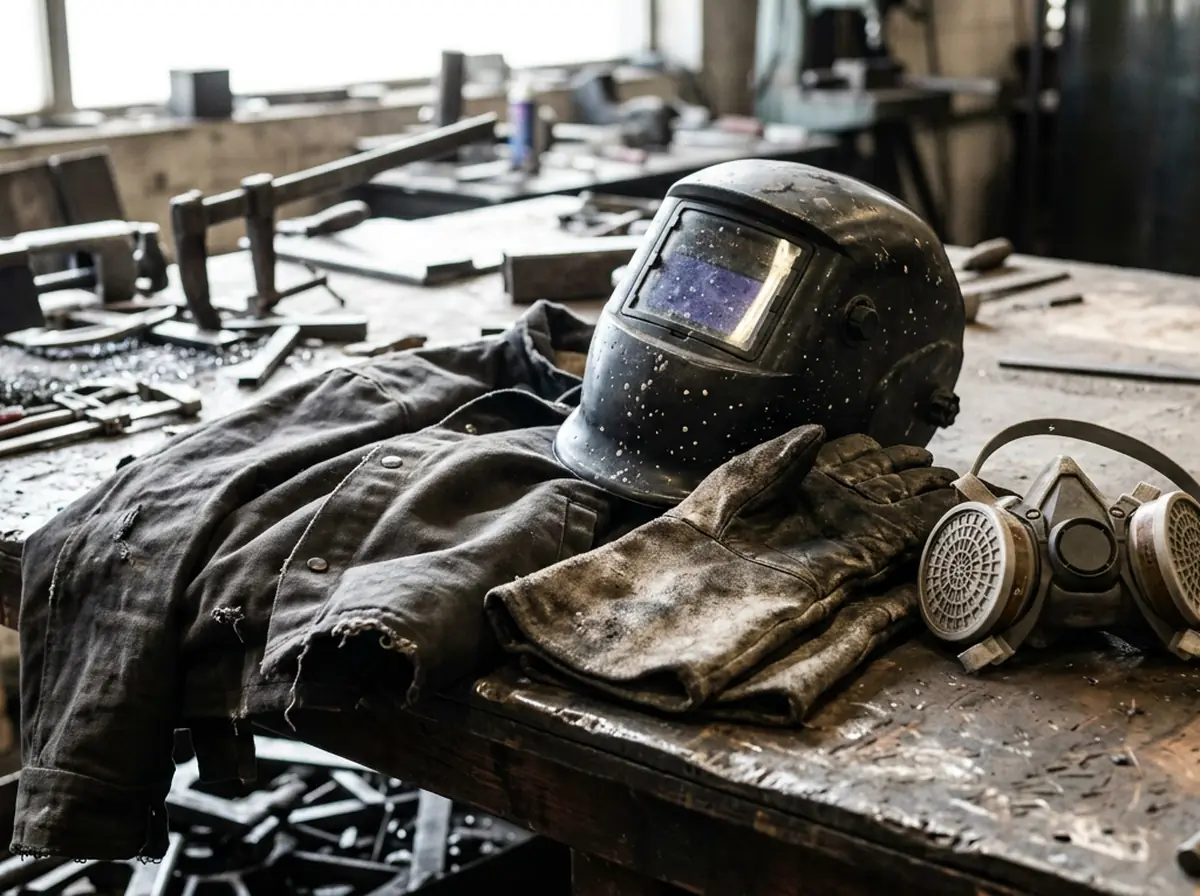
Protect yourself: helmet, clothing and clean air
- Helmet and glovesWear a welding helmet, which protects the eyes from the light and the face from sparks and heat, and long leather gloves.
- Clothing and hairCover all skin with heavy clothing and avoid polyester, which melts onto the skin. Tuck all your hair under a cap or scarf.
- Clean airPlace fume extraction near the weld point. Being outdoors is not enough either: stand upwind, never with your back to the wind.
- RespiratorAt a minimum, a P95 respirator for MIG welding. Without ventilation, you need a supplied-air respirator.
Never weld in an enclosed space without ventilation: the gases build up.
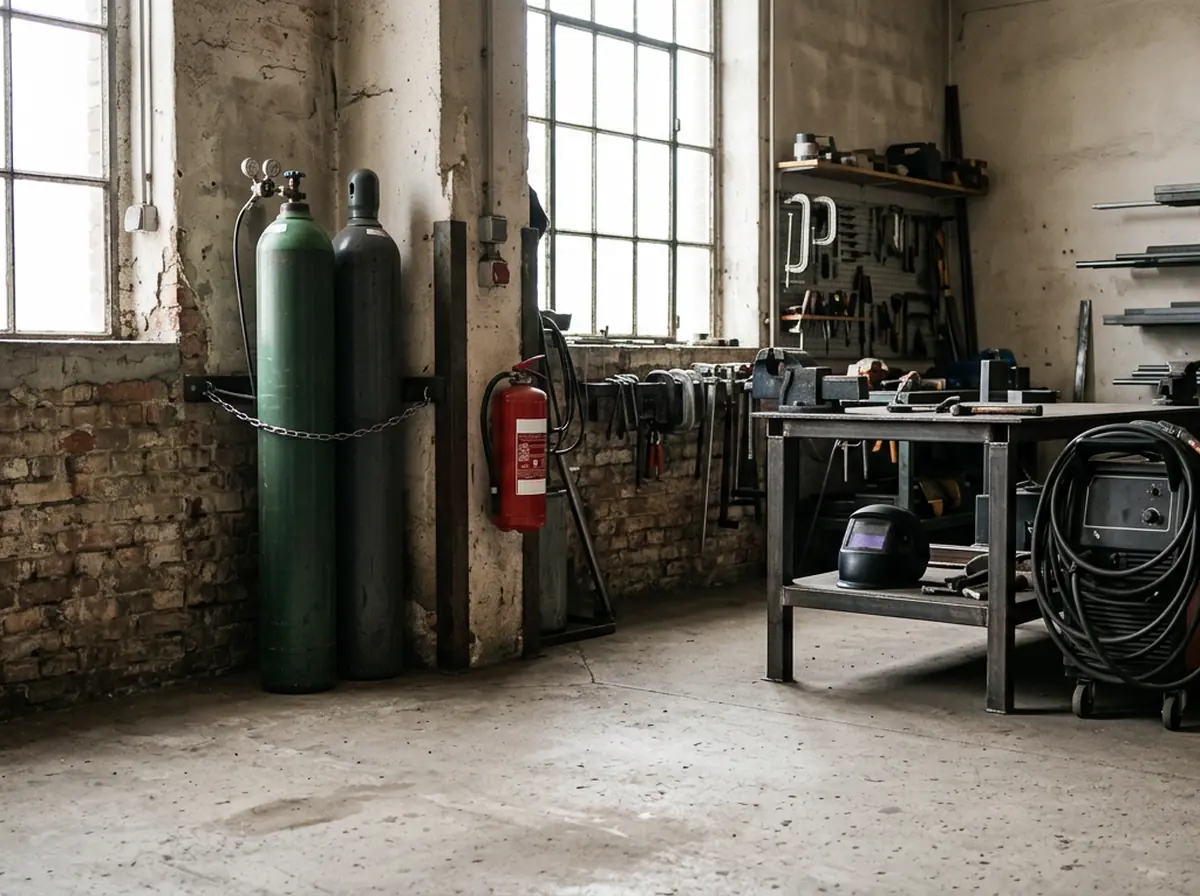
Fire and cylinders: before you strike the arc
- Clear the areaKeep the area at least 35 feet (about 11 meters) from flammable materials, such as oily rags, paper or paint.
- Extinguisher and watchKeep an extinguisher at hand and watch the area for at least 30 minutes after welding.
- CylindersChain and cap all compressed gas cylinders so they don't fall or leak.
- Clean the metalRemove paint and solvent residue before welding: when heated they can release toxic gases.
Welding is learned in person. Look for an in-person course with supervised practice: no on-screen guide teaches you to weld safely.
Check what you already have
0 of 5 · Saved only on this device.
- Welding in an enclosed or unventilated space.
- Welding on painted metal or metal with solvent without cleaning it.
- Learning alone, without an instructor and with an improvised helmet.
Sources: OSHA · welding, cutting and brazing · OSHA · fact sheet on welding fumes and gases · Massachusetts Office of Technical Assistance · safe welding practices