HomeStage 3 · Learn a tradeBasic carpentry: measure, cut, join and use tools safely
By Global PrepperUpdated 3 official sourcesHow we make the guides
Stage 3 · Basic carpentry: measure, cut, join and use tools safelyBasic carpentry: measure, cut, join and protect your hands
With a few hand tools you can repair furniture, doors and simple structures. Three steps: measuring and marking, cutting and joining, and using power tools safely.
- Mark with a square before cutting.
- Clamp the piece so both hands are free.
- Pilot hole so the wood doesn't split.
- Unplug the tool before changing the blade.
Measure and mark: the basic tools
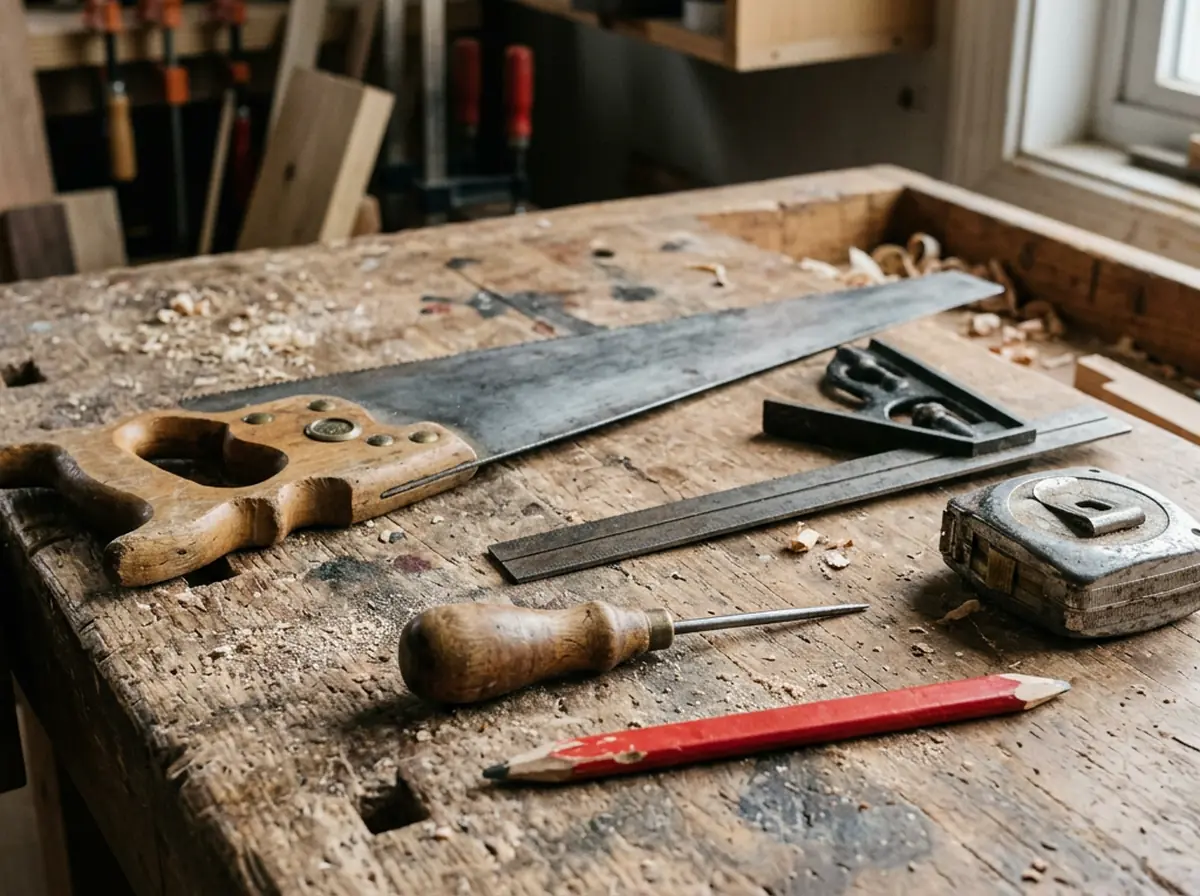
- The basicsStart with an awl, a tape measure or folding rule, a combination square, a handsaw, a hand drill, a screwdriver and sandpaper.
- Mark a lineWith the square and a pencil or an awl you can mark a line at the same distance from the edge. A 6-foot (about 2 m) tape is enough to start.
- Choose the sawOne with 10 to 14 teeth per inch gives fine, accurate cuts in dry wood; a coarse one, with 8, cuts fast and suits green wood.
- Look after the edgesA dull tool is more dangerous: keep edges sharp and replace loose, cracked or splintered handles.
Edges away from your body: handle the awl carefully so you don't stab yourself, and point edges away from you and others.
Cut and join: clamp, drill and screw
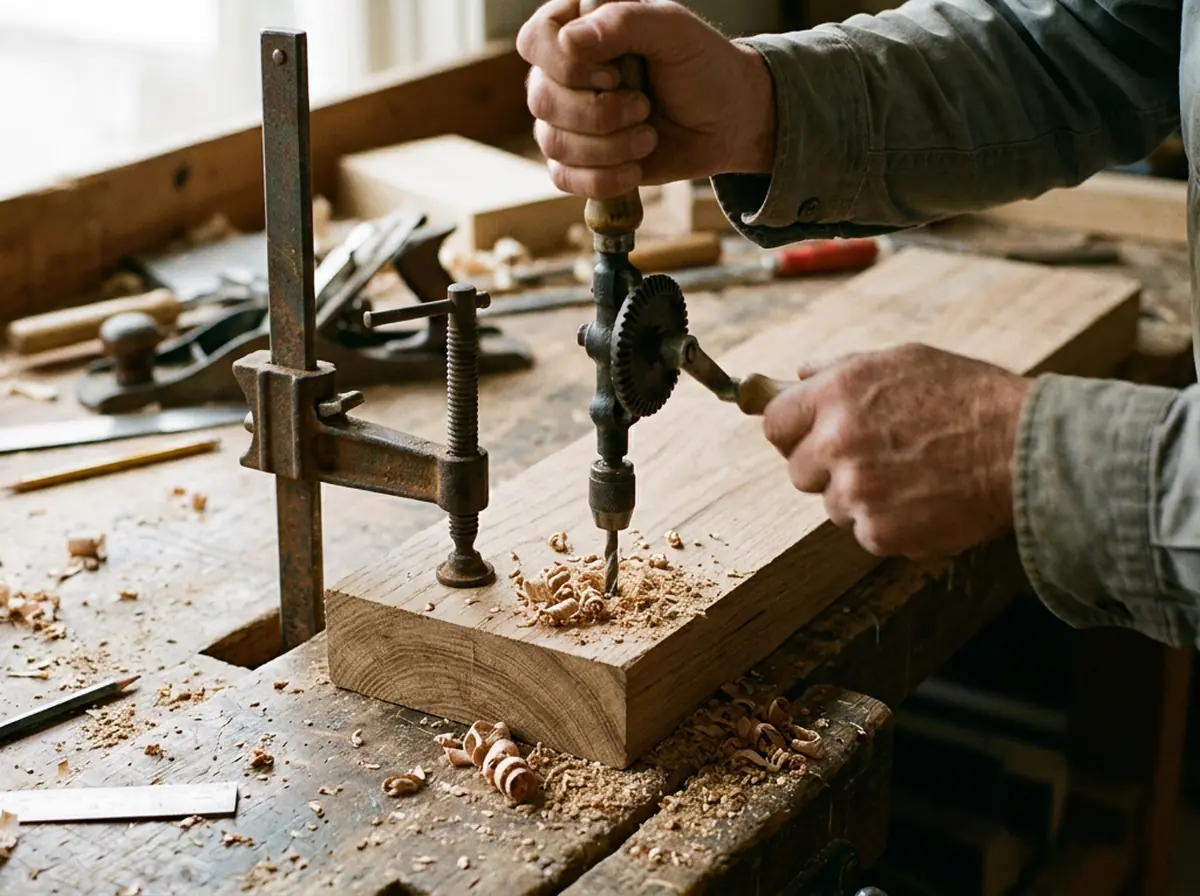
- Clamp the pieceFix it with a clamp or a vise so both hands are free. Don't hold it in your palm while using a screwdriver.
- Inside cutFor an inside cut with a pointed saw, drill a hole first, insert the blade and cut with smooth, even strokes.
- Pilot holeDrill a pilot hole as deep as the screw so the wood doesn't split. Tighten until the pieces fit firmly, without breaking them.
- Backing and sandingPut a board behind the piece when drilling, so the bit doesn't burst through. Sand along the grain, from coarse to fine.
No loose clothing or jewelry: they catch in tools. Wear snug clothes and take off rings and bracelets.
Power tools: guards, cords and protection
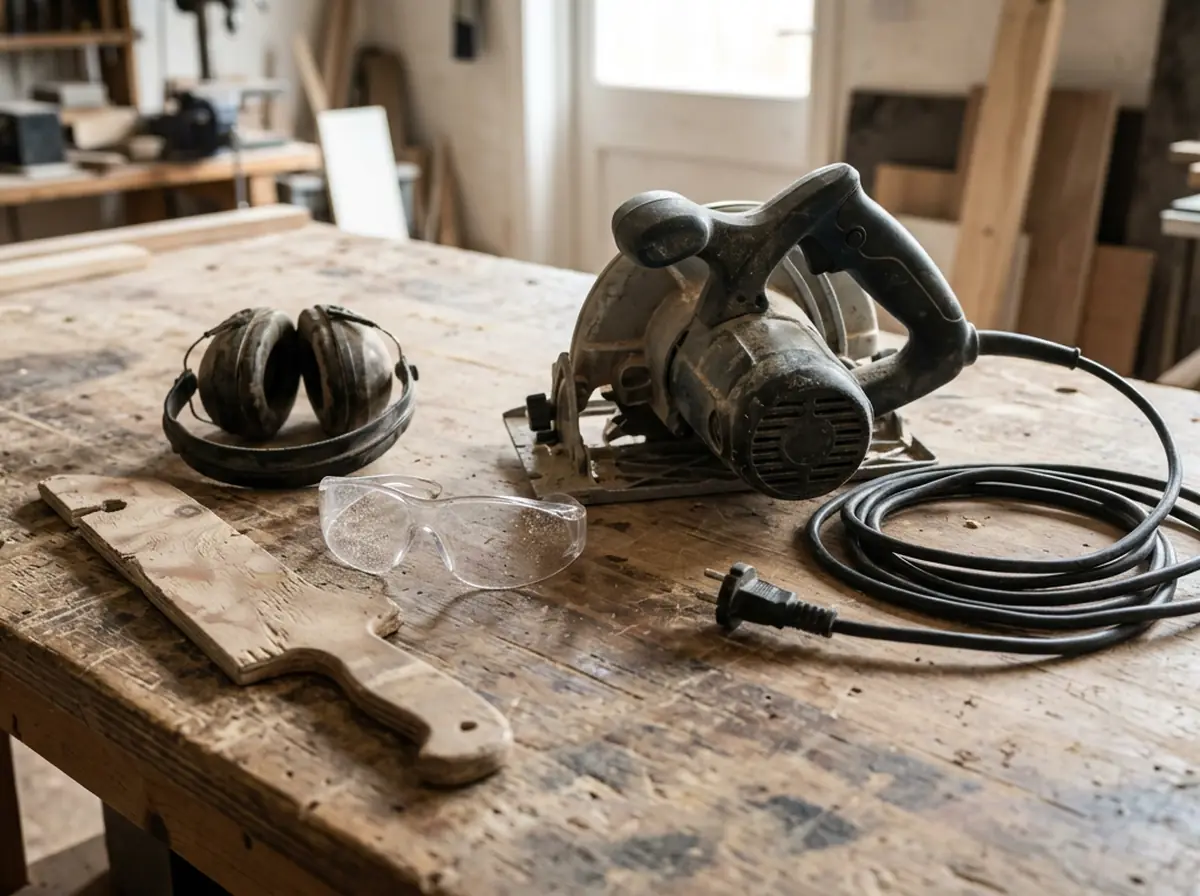
- Protect eyes and handsWear safety glasses against sawdust and splinters, and keep your hands away from moving parts.
- UnplugUnplug the tool when changing blades, bits or cutters, and when you finish. Don't carry it by the cord or pull the cord to unplug it.
- GuardsNever remove the guards while the tool is in use. On a table saw, always use the guard for through cuts and a push stick for small pieces.
- Dry and with a GFCIDon't use corded power tools in damp or wet places. Outdoors, use a GFCI outlet or a portable GFCI.
Never use power tools if you have been drinking alcohol.
Check what you already have
0 of 5 · Saved only on this device.
- Cutting without clamping the piece.
- Removing a saw's guard because it gets in the way.
- Driving a screw without a pilot hole and splitting the wood.
Sources: OSHA · hand and power tools (publication 3080) · CPSC · power tool safety checklist · Oregon State University · woodworking tools