HomeStage 3 · Live off what you produceSeeds and compost: save your seeds and make your own soil
By Global PrepperUpdated 3 official sourcesHow we make the guides
Stage 3 · Seeds and compost: save your seeds and make your own soilSeeds and compost: save your seeds and make your own soil
A garden that replants itself every year needs its own seeds and good soil. Three steps: choosing seeds, drying and storing them, and making compost.
- Seeds: open-pollinated, from your healthiest plants.
- Storing: dry, labeled and cold, at 0 to 5 °C (32 to 41 °F).
- Compost: two to three parts browns for every part of greens.
- Ready: dark, loose and smelling of fresh soil.
Choose your seeds well: open-pollinated, from healthy plants
- Open pollinationChoose open-pollinated varieties: their seeds grow plants like the parent. F1 hybrids give different, unpredictable plants.
- Start with the easy onesTomato, pepper, bean and pea are self-pollinating and need little work. Carrot and beet need two seasons to produce seed.
- The best plantsSave seed only from the healthiest, most vigorous plants with the best flavor. Don't use weak plants or ones with odd traits.
- One variety at a timeCucumber, melon, squash and corn cross easily: to keep seed true, plant just one variety per season.
Let it over-ripen: for seed, the fruit ripens fully on the plant; cucumber and zucchini are left far past the point of eating.
Dry and store: clean, dry, labeled and cold
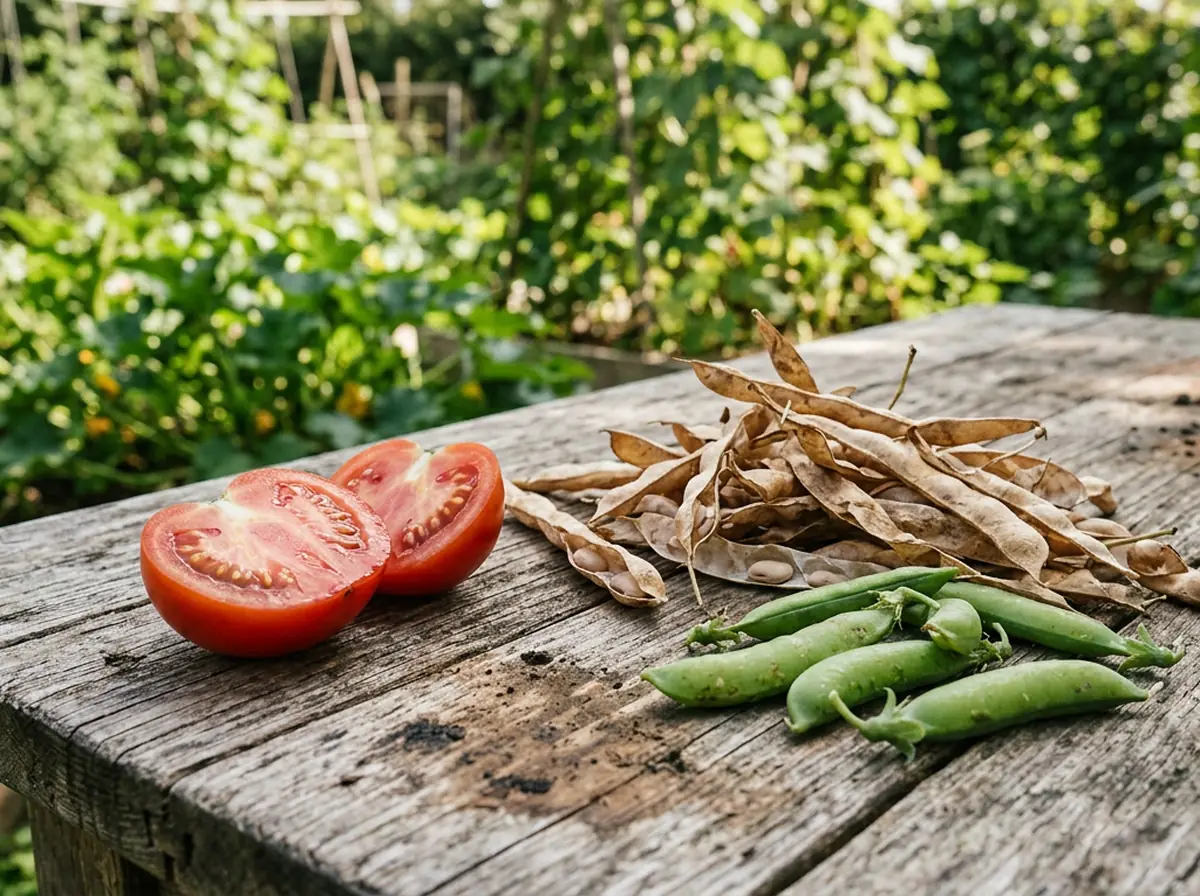
- TomatoLet the fruit ripen well, scoop out the seeds with their gel and ferment them in water for 3 to 5 days, stirring twice a day. Rinse and dry on paper.
- Beans and peasLet the pods dry and turn brown on the plant, until the seeds rattle when shaken. Dry them indoors for at least two weeks before shelling.
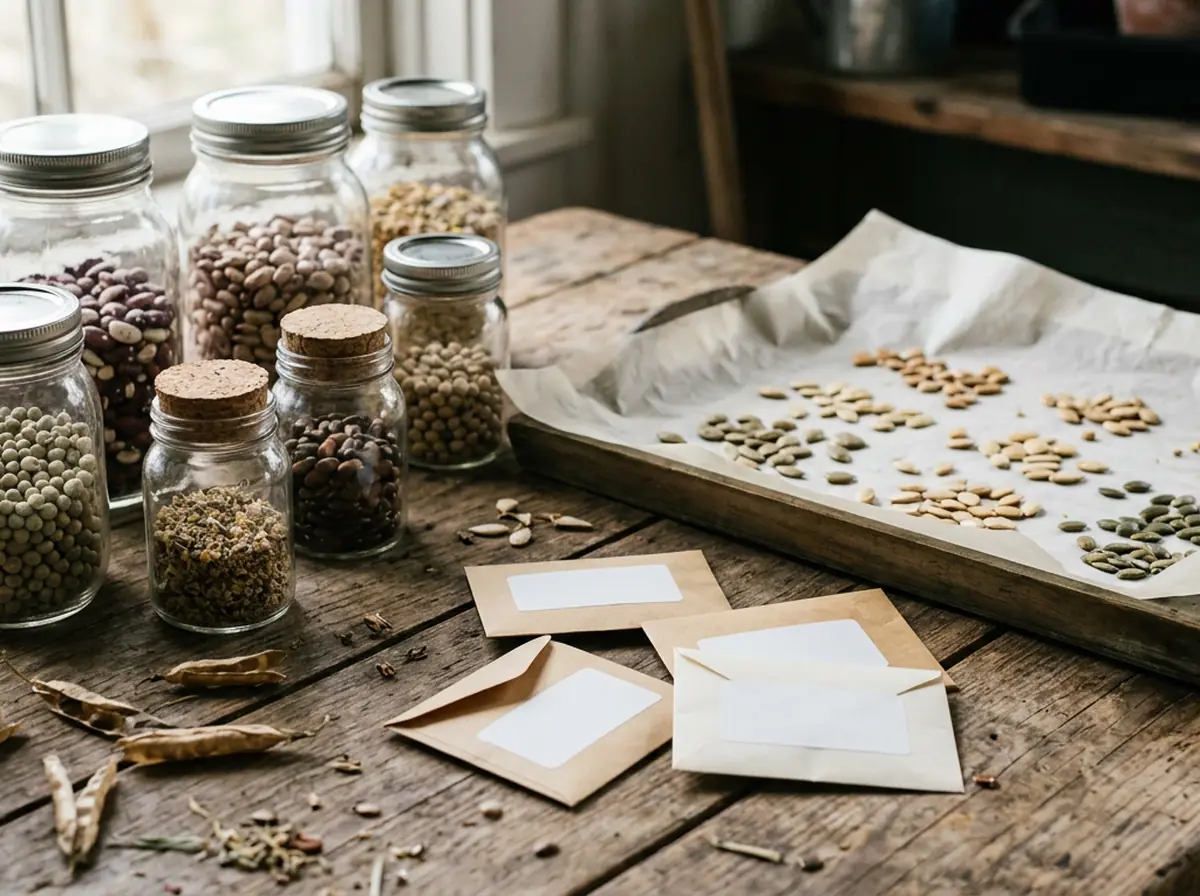
- DryingSpread them in a single layer and move them several times a day. Above 35 °C (95 °F) the seeds are damaged.
- Store themIn airtight glass jars, cold and dry, at 0 to 5 °C (32 to 41 °F): the refrigerator works. Add a desiccant, such as silica gel or powdered milk wrapped in gauze.
Label and use soon: write the name, variety and date. Over time germination and vigor drop; the University of Minnesota Extension recommends using the seed within a year.
Your own soil: compost from what you throw away
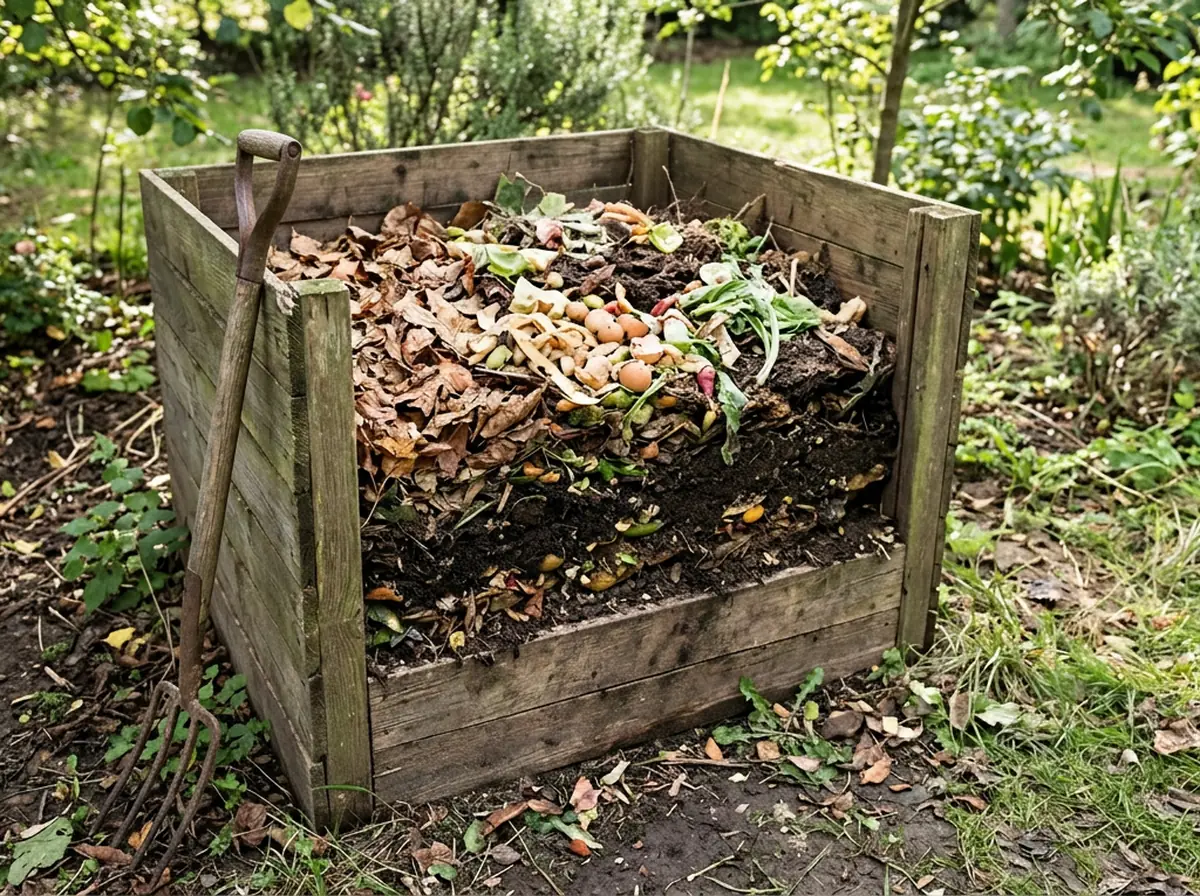
- Greens and brownsGreens (fruit and vegetable scraps, grass, coffee) give nitrogen; browns (dry leaves, twigs, plain paper or cardboard) give carbon. Use two to three times more browns than greens.
- In layersStart with a 10 to 15 cm (4 to 6 in) base of twigs or wood shavings, and always cover food scraps with 10 to 20 cm (4 to 8 in) of dry leaves or other browns.
- Moist and aeratedThe mix should feel like a wrung-out sponge. Turn it from time to time; if it smells bad, add dry browns and turn it.
- Ready in monthsWell tended, it is ready in 3 to 5 months; untended, up to a year. It no longer heats up, looks dark and loose, and smells like fresh soil.
Don't add meat, fish, bones, dairy, fats, pet waste or plants that are diseased or treated with herbicides.
Check what you already have
0 of 5 · Saved only on this device.
- Saving seed from F1 hybrids and expecting identical plants.
- Storing seeds that are poorly dried or unlabeled.
- Putting meat, dairy or pet waste in the compost.
Sources: Oregon State University · step-by-step guide to saving seeds · University of Minnesota · saving vegetable seeds · EPA · composting at home