HomeStage 3 · Learn a tradeBasic plumbing: find leaks, fix them and protect pipes
By Global PrepperUpdated 2 official sourcesHow we make the guides
Stage 3 · Basic plumbing: find leaks, fix them and protect pipesBasic plumbing: find the leak, fix it and protect the pipes
A small leak wastes thousands of liters a year and a frozen pipe can burst. Three steps: find the leak, fix the simple things and protect pipes from freezing.
- Meter: two hours without using water; if it changes, there is a leak.
- Toilet: dye in the tank; if it reaches the bowl in 10 minutes, it leaks.
- Cold: at 0 °F (−18 °C), let a trickle of water run.
- Frozen: shut the main valve and call a plumber.
Find the leak: meter and dye
- Meter testRead the meter, wait two hours without using any water and read it again. If it changed, there is probably a leak.
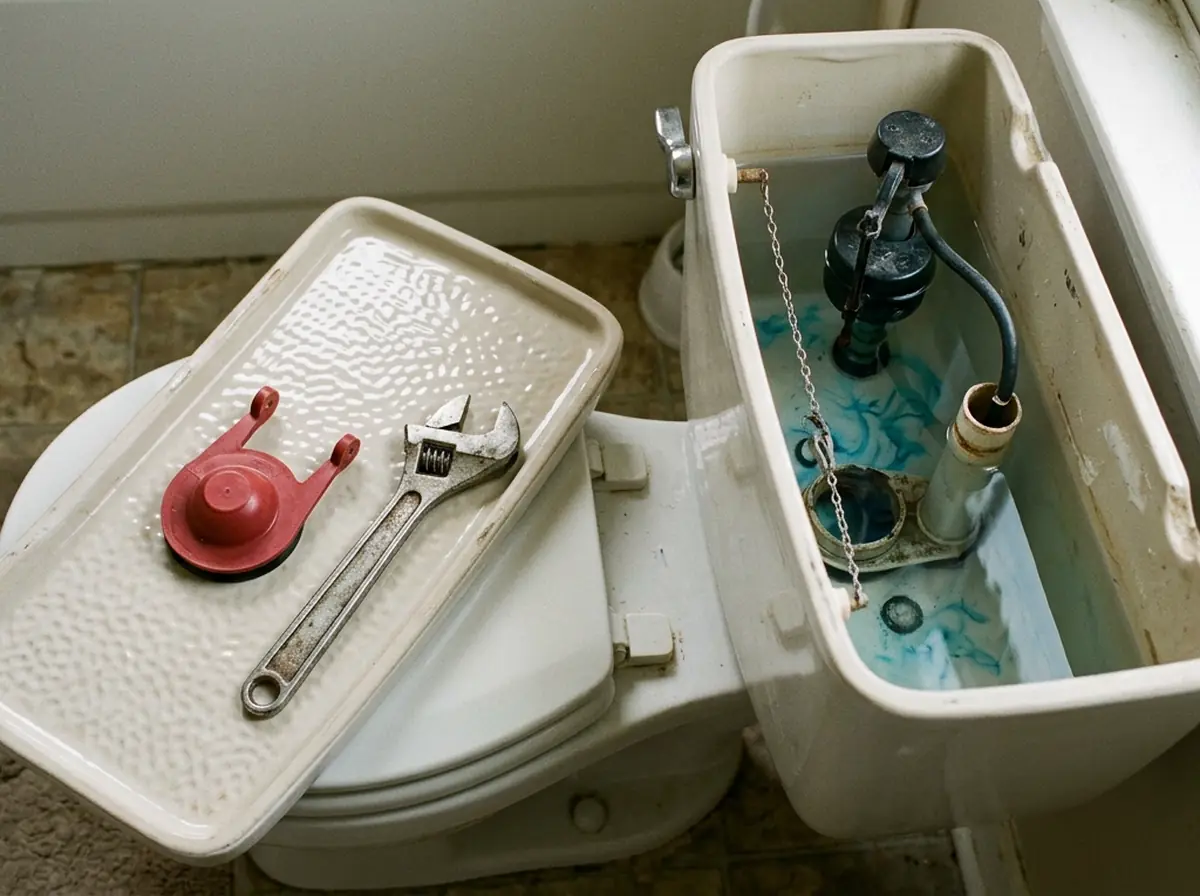
- Toilet testPut a few drops of food coloring in the tank. If the color reaches the bowl within 10 minutes, there is a leak. Flush when you finish so the dye doesn't stain the tank.
- Look at your billCompare the cold months: a family of four using 12,000 gallons (about 45,000 liters) a month may have serious leaks.
- Check outsideLook at the hose and the irrigation system: a leak of just 1/32 of an inch (less than 1 mm) can lose about 24,000 liters a month.
Don't wait: a faucet that drips once per second wastes more than 3,000 gallons a year, about 11,000 liters.
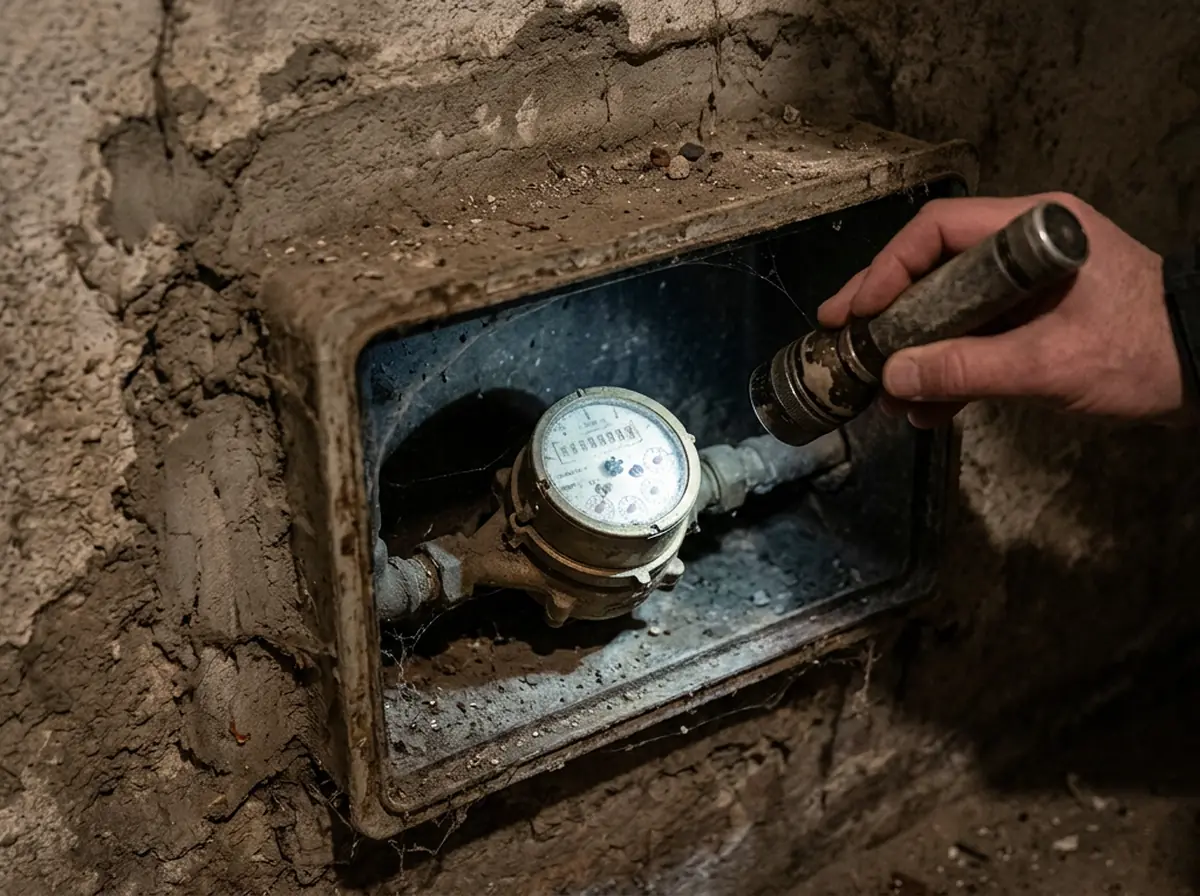
Fix the simple things: flapper, washer and showerhead
- Shut off the waterBefore you start, close the shutoff valve for that fixture so no water comes out while you work.
- Dripping faucetReplace worn washers and gaskets. Take the old part to the hardware store to buy an identical one.
- ToiletReplace the rubber flapper at least every five years. Take the old one, or a photo, to the hardware store to buy the same one.
- ShowerheadTighten the connection to the pipe, seal it with plumber's tape and check the washer or rubber ring inside.
Call a licensed plumber if the shower valve drips when it is closed or if the leak continues after you fix it.
Against ice: prevent it and what to do if it freezes
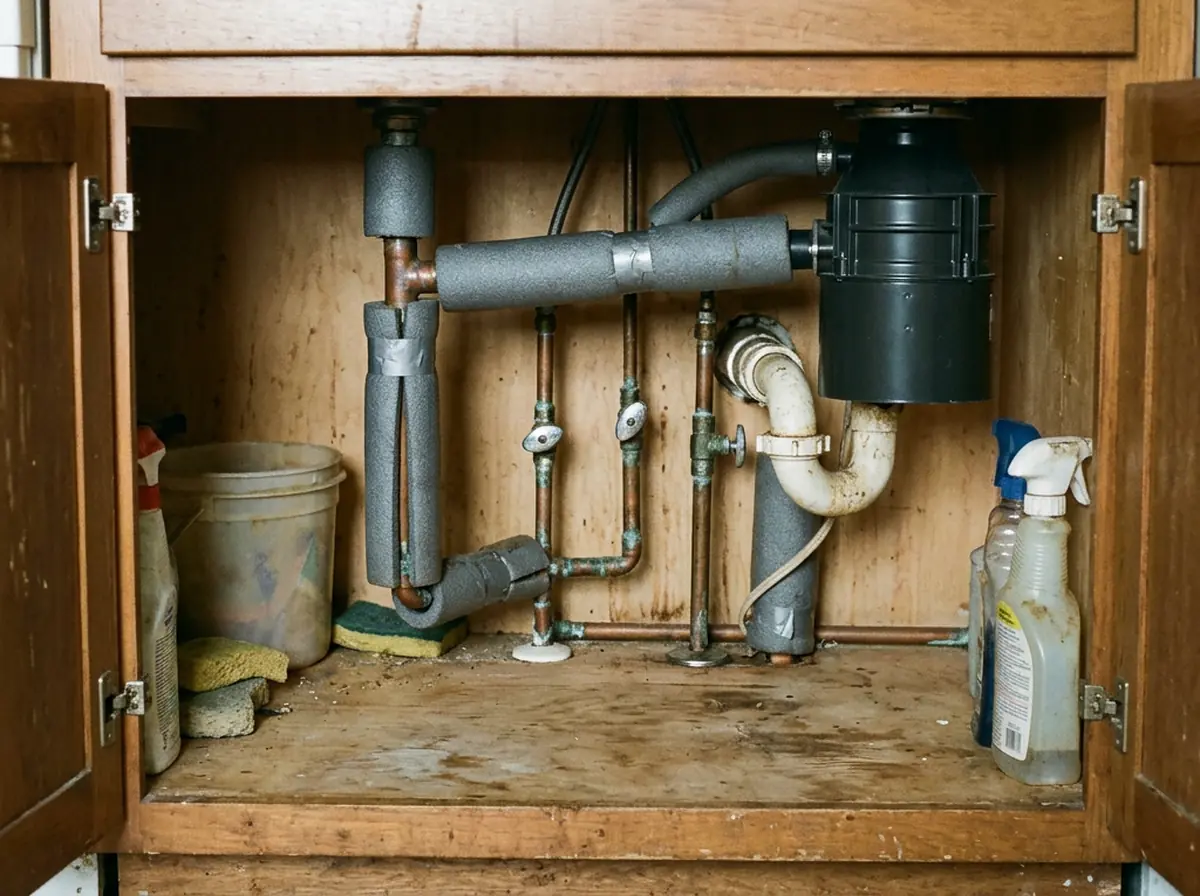
- Before the coldInsulate exposed pipes in the basement, attic and crawl spaces, disconnect outdoor hoses and learn where the main valve is.
- When it drops to 0 °FAt 0 °F (−18 °C) or below, let a pencil-thick trickle run from at least one faucet, preferably on an exterior wall, especially at night.
- Open the cabinetsOpen the cabinet doors under the sink so the heat of the house reaches the pipes.
- If it freezesShut the main valve right away and call a licensed plumber. Then open the water very slowly and watch for leaks.
Never use a torch or open flame to thaw a pipe: it is extremely dangerous and can be deadly.
Check what you already have
0 of 5 · Saved only on this device.
- Ignoring a drip because it “only drips”.
- Thawing a pipe with a torch or open flame.
- Opening the water all at once after thawing.
Sources: EPA · Fix a Leak Week (WaterSense) · Indiana Office of Utility Consumer Counselor · avoiding frozen pipes