HomeStage 2 · Your home without servicesMending clothes: patch your clothes so they last
By Global PrepperUpdated 1 official sourceHow we make the guides
Stage 2 · Mending clothes: patch your clothes so they lastMending clothes: patch your clothes before they tear further
A hole or an open seam takes minutes to fix if you do it in time. Three steps: your sewing kit, how to patch, and how to repair seams and buttons.
- Sewing kit: needles, pins, scissors and thread in five colors.
- Patch: at least 2.5 cm (1 in) bigger than the damage.
- Backstitch: one of the strongest hand stitches.
- Quick: a small tear grows if you ignore it.
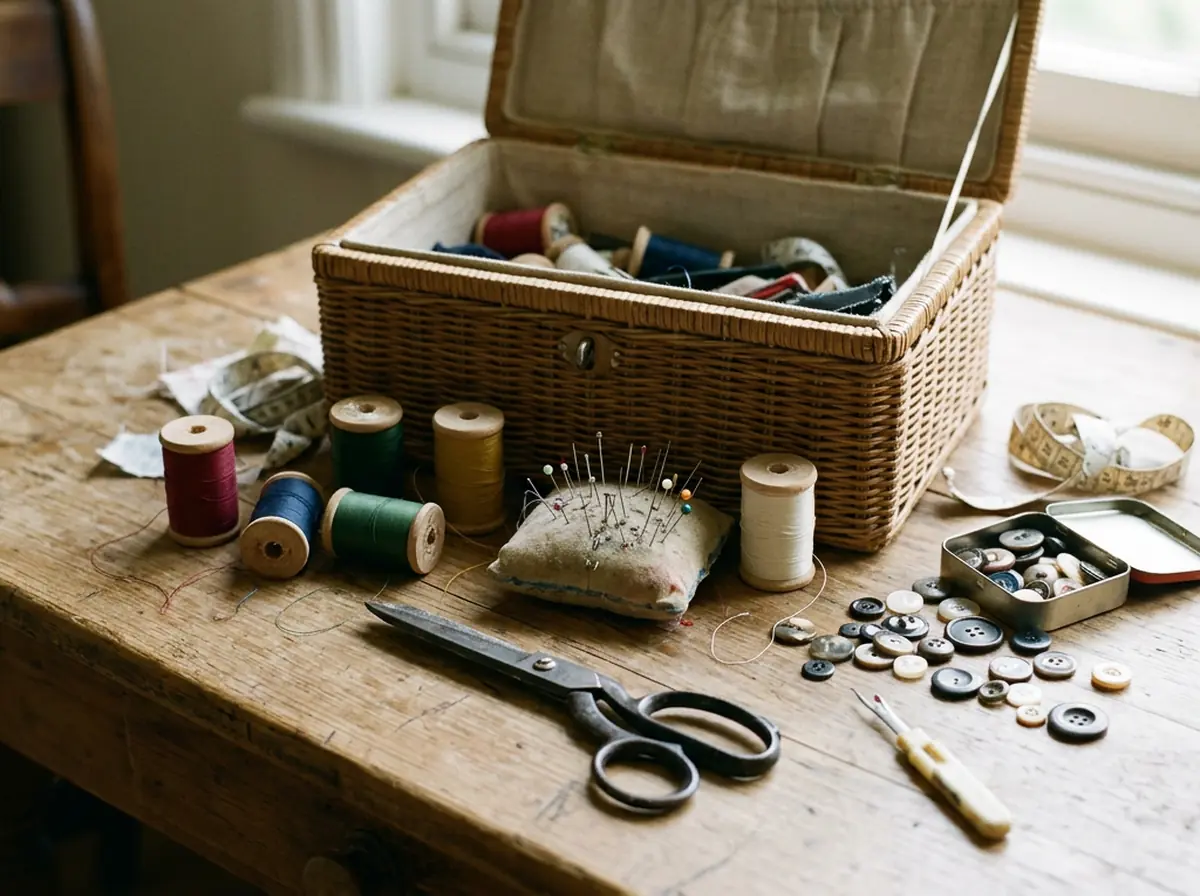
Your sewing kit: the basics for mending
- A box or basketKeep assorted needles, pins, safety pins and scissors together in one place.
- Thread in five colorsWhite or beige, navy, brown, black and medium gray cover almost everything. Use thread of the same fiber the garment's label lists.
- Useful extrasAssorted buttons, snaps, a seam ripper, a needle threader and a ruler. To mend without sewing, use iron-on interfacing or mending tape.
- Clean firstWash or clean the garment before patching, so the patch and the seam sit on clean fabric.
Mend in time: a small tear grows if you ignore it. Fix it as soon as you see it.
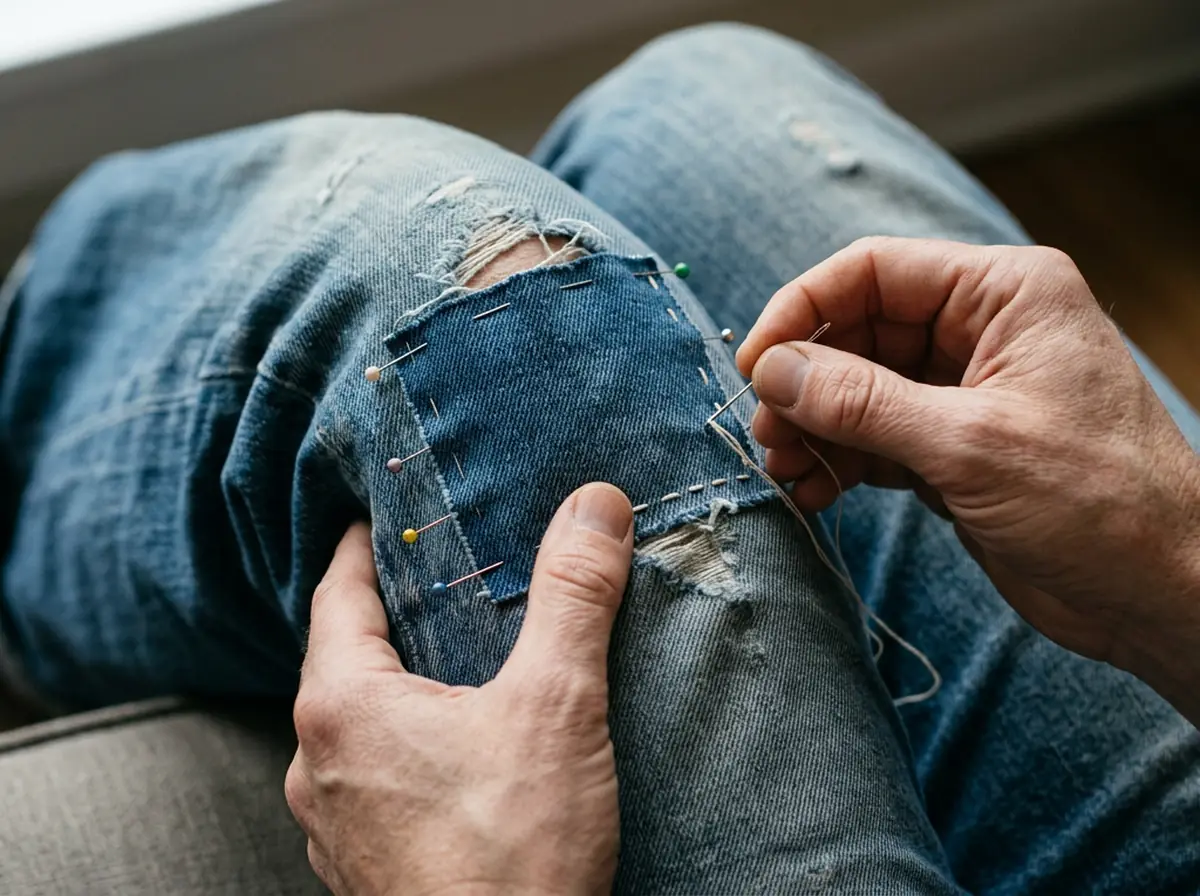
Patching a hole: a patch bigger than the damage
- Trim the damageTrim the damaged area into a square or rectangle, so the patch is easier to place and sew.
- The patchUse a similar fabric and make the patch at least 2.5 cm (1 inch) bigger than the damage.
- Fix it in placeYou can attach it with an iron, glue, or hand or machine stitching. Sewing the edges makes it last longer.
- Iron or stitchA fusible patch is stiffer; one sewn by machine is softer. By hand, in hard-to-reach areas, use a backstitch or a blanket stitch.
No sewing: iron-on interfacing or mending tape, or a patch of the same fabric with fusible web, fixes a hole quickly.
Seams and buttons: backstitch and reinforcement
- BackstitchIt is one of the strongest hand stitches. With right sides together, follow the seam line: go back 2 to 3 mm and bring the needle out 2 to 3 mm further ahead.
- A torn seamRemove the loose threads, anchor the thread 1.3 cm (½ inch) from the tear and sew with a backstitch. By machine, sew straight and overlap 1.3 cm at each end.
- Reinforce what pullsReinforce the crotch, underarm and pocket seams before they tear. On knit fabrics, use a stretch stitch or a small zigzag.
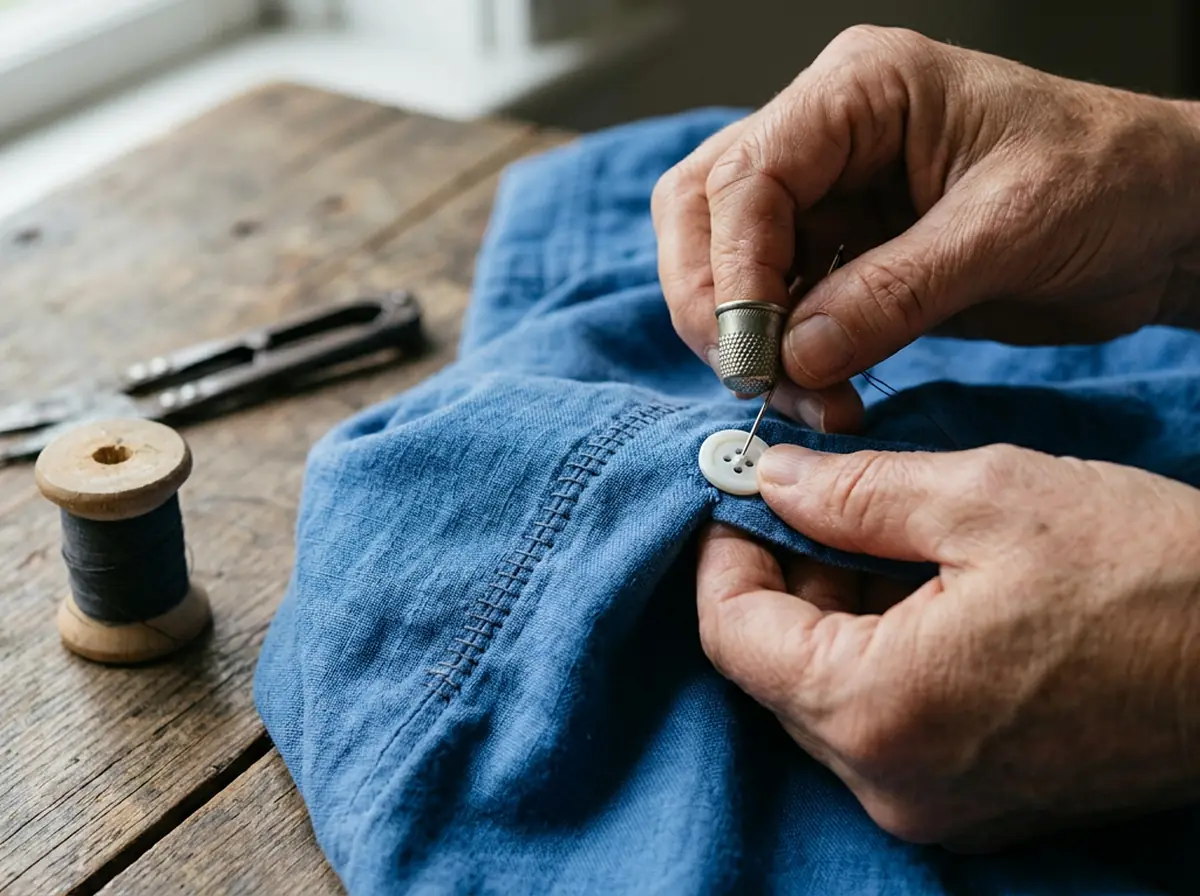
- A firm buttonUse one of the same size and type, sewn with a thread shank about 3 mm longer than the thickness of the fabric. If a piece of fabric tore out, patch it first.
Sew again as soon as you see loose threads on a button or a seam: that way you don't lose the button or open the seam.
Check what you already have
0 of 5 · Saved only on this device.
- Waiting for a small tear to grow.
- Using a patch of exactly the same size, with no margin.
- Sewing with thread of a different fiber than the fabric.
Sources: University of Tennessee Extension · clothing and textiles guide (W 885), mending your clothes