HomeStage 3 · Learn a tradeBasic masonry: protect yourself from cement, mix mortar and lay blocks
By Global PrepperUpdated 2 official sourcesHow we make the guides
Stage 3 · Basic masonry: protect yourself from cement, mix mortar and lay blocksBasic masonry: protect yourself from cement, mix mortar and lay blocks
Wet cement burns skin and its dust harms the lungs. Three steps: protect yourself, mix the mortar and lay bricks and blocks.
- Wet cement: it burns; gloves, tall boots and wash quickly.
- Type N mortar: 1 part cement, 1 lime and 6 sand by volume.
- Time: use it within 2½ hours in warm weather and 3½ in cool.
- Cutting: wet, and with a mask, because of the silica dust.
Protect yourself from cement: burns and dust
- It burns skinWet cement is alkaline. If it gets trapped in boots or gloves, or soaks through clothing, it can cause first- to third-degree burns.
- Clothes and glovesWear alkali-resistant gloves, long sleeves and tall waterproof boots. Tuck your pants into the boots and pull your sleeves over the gloves.
- Eyes and dustWear safety glasses with side shields and an N95 mask if you can't avoid the dust. Don't wear contact lenses when handling cement.
- If it splashes youTake off contaminated clothing and wash right away with plenty of cool, clean water. For the eyes, rinse with cool water for at least 15 minutes and get medical attention.
Cutting is the most dangerous part: cutting or sanding concrete releases crystalline silica, which causes silicosis. Cut wet and wear a mask.

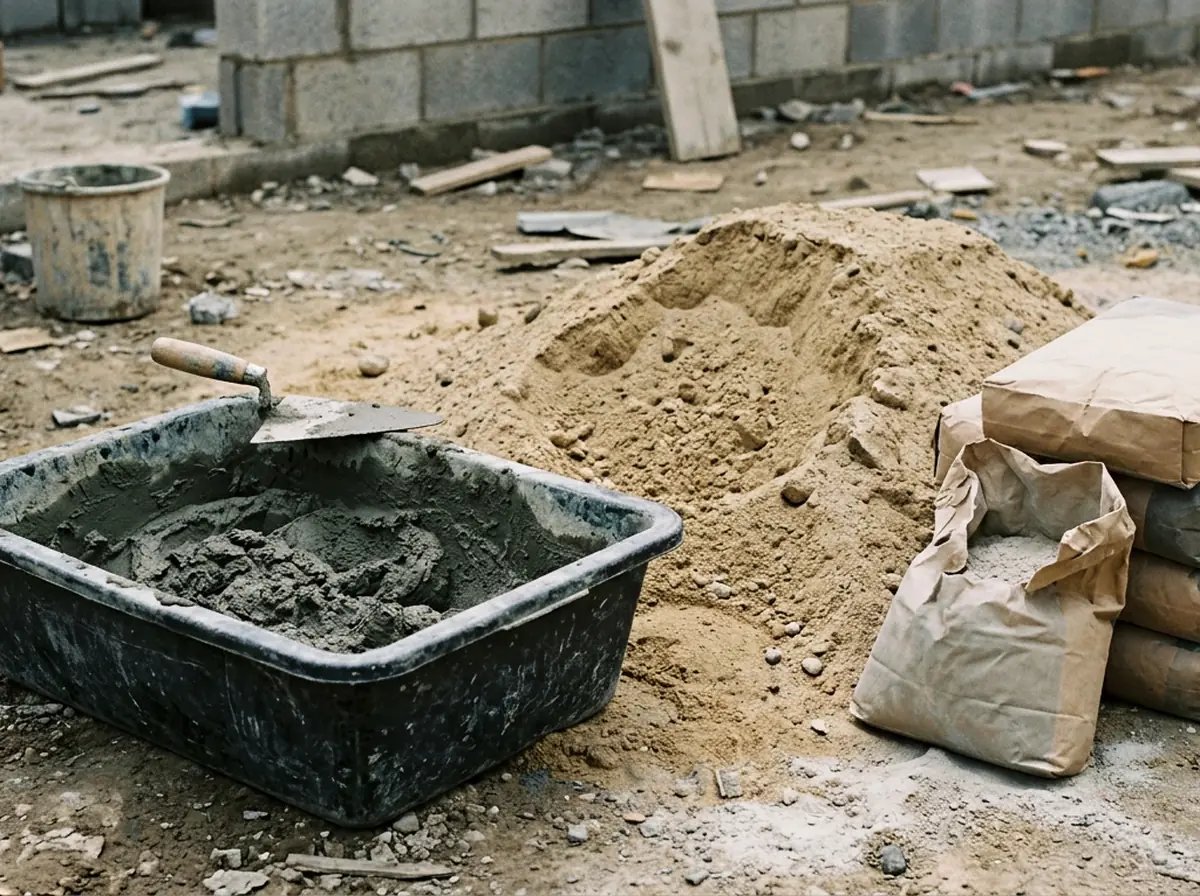
Mix the mortar: type, proportions and time
- For wallsFor ordinary above-ground walls, use type N mortar: 1 part portland cement, 1 lime and 6 sand, measured by volume.
- Below groundFor foundations, retaining walls and floors in contact with soil, use type M: 1 cement, ¼ lime and 3 sand. To resist sideways forces, type S: 1, ½ and 4½.
- How to mixMix everything dry first and add the water afterward, until it is uniform. Use clean water: water with a lot of dissolved salts weakens the mortar.
- Working timeUse it within 2½ hours if it is 80 °F (27 °C) or warmer, and within 3½ if cooler. You can add water to restore workability; throw away mortar that has already set.
Never use frozen mortar or antifreeze in the mix.
Lay bricks and blocks: moisture, joints and curing
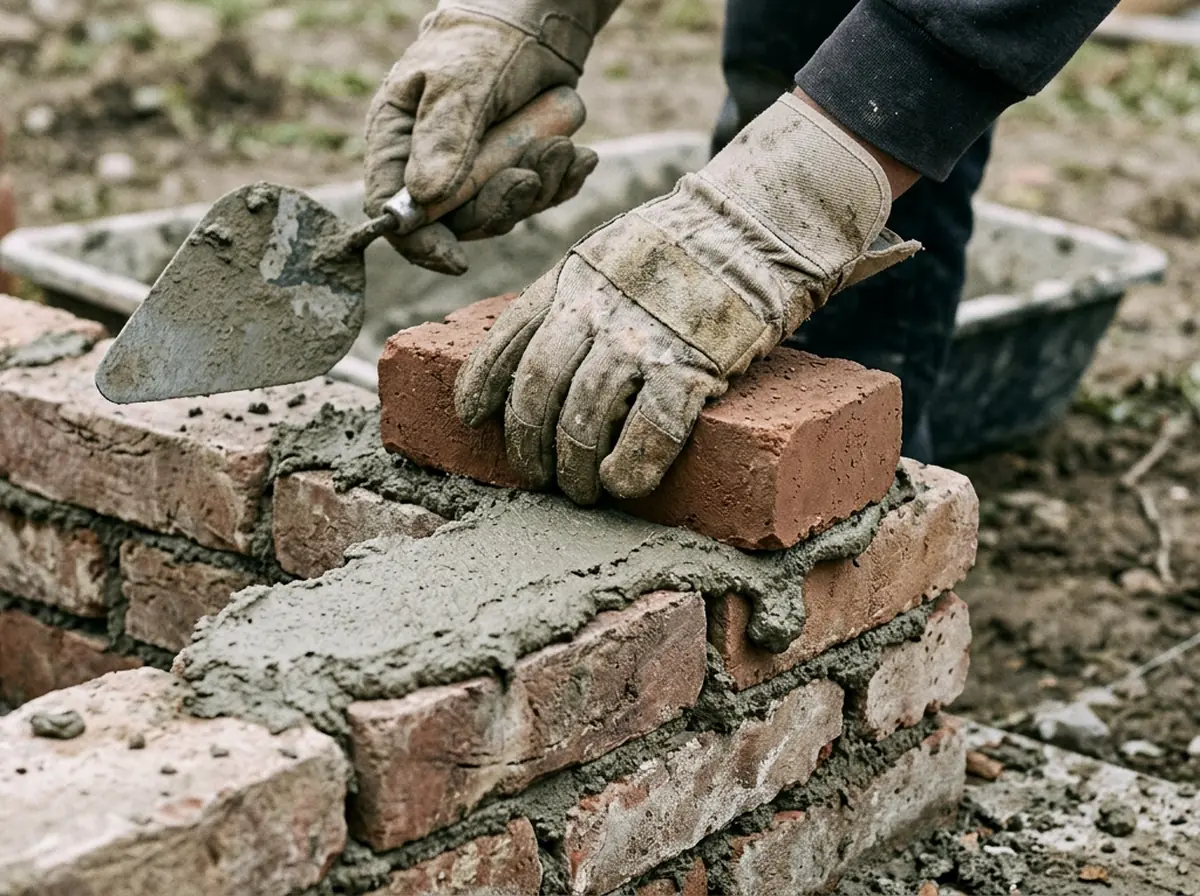
- Wet the brickIn warm weather, wet the brick before laying it. Test: put 20 drops in a 1-inch circle; if it absorbs them in less than 1½ minutes, wet it thoroughly and let the surface dry.
- JointsJoints of ¼ inch are the strongest; with irregular bricks they can go up to ½ inch.
- Concrete blocksUse 3/8-inch joints and don't wet them. If you make them yourself, protect them from the sun and keep them damp for 7 days.
- Parging a wallOn the outside of a basement wall, use a 1 to 2½ cement mortar in two ¼-inch coats. Wait 24 hours, dampen the first coat and keep the second one damp for at least 48 hours.
Learn on a low wall that carries nothing. Foundations, load-bearing walls and roofs require a plan and someone who knows structures.
Check what you already have
0 of 5 · Saved only on this device.
- Leaving wet cement inside boots or gloves.
- Cutting concrete dry and without a mask.
- Using mortar that has already set or frozen.
Sources: US Army concrete and masonry manual · FM 5-428, masonry · CPWR · hazards and controls of portland cement