HomeStage 2 · Your bodyPhysical fitness guide: walking, carrying and enduring
By Global PrepperUpdated 6 official sourcesHow we make the guides
Stage 2 · Physical fitness guide: walking, carrying and enduringPhysical fitness: walk, carry and endure
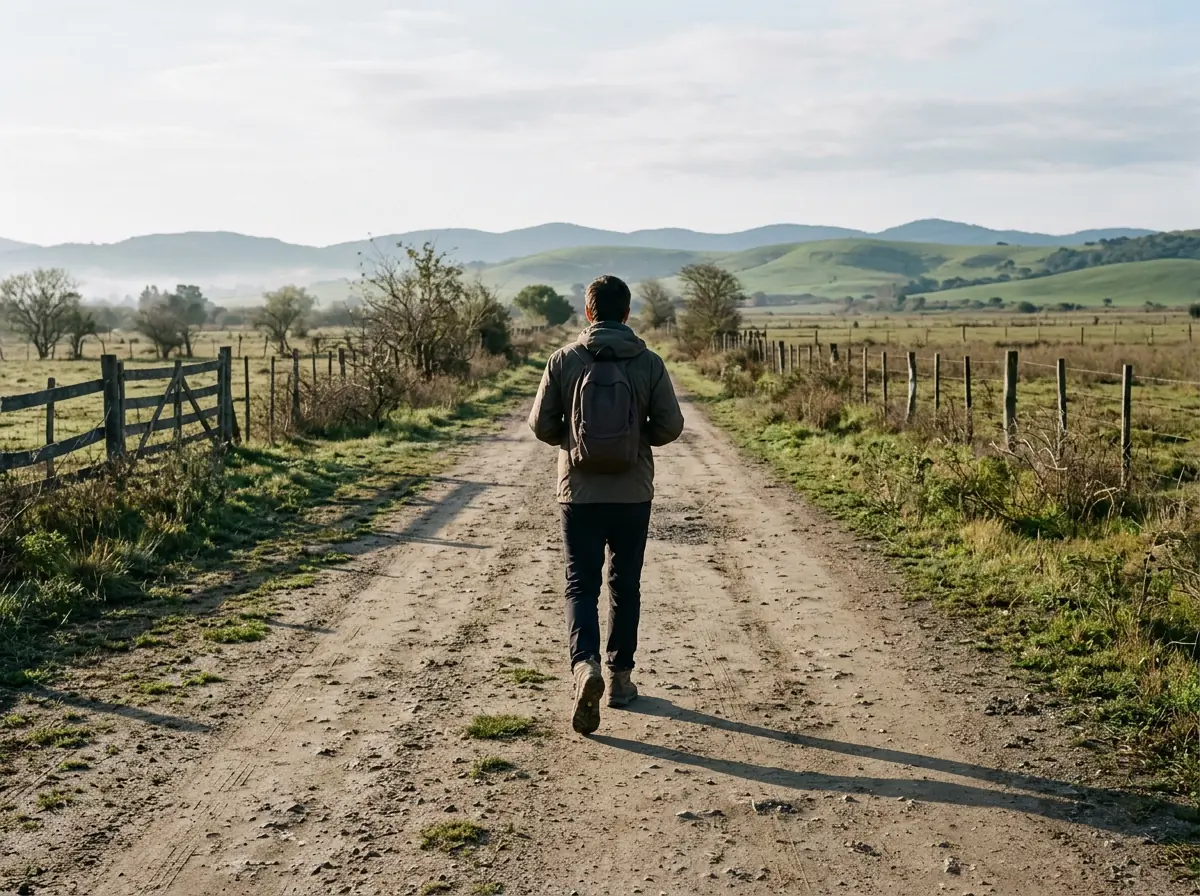
If transport fails, your feet are the plan. Train today to walk for hours with a pack without getting hurt.
- 150 minutes a week of brisk walking and 2 days of strength work.
- Build up slowly: start with a light load and short distances.
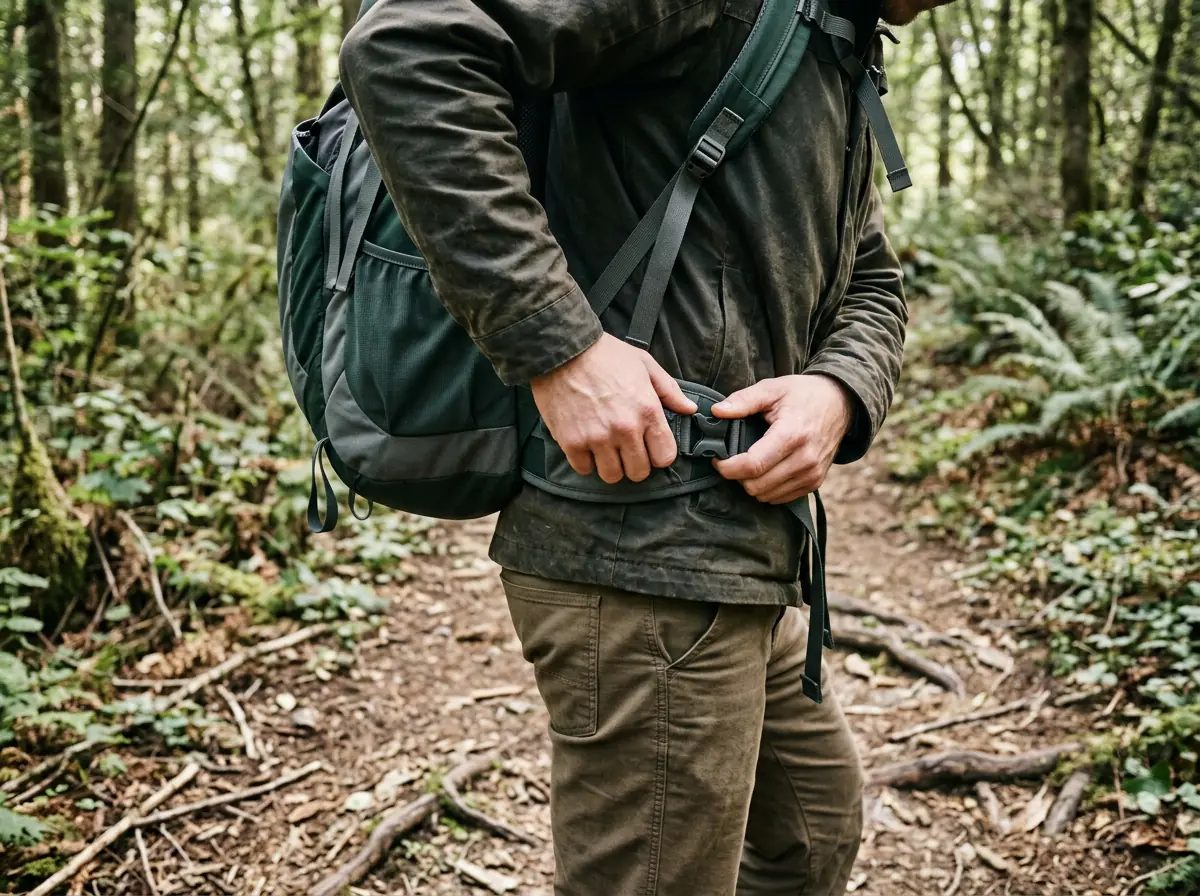
- Keep the heavy items close to your body, with the hip belt fastened.
- Stop at the first hot spot on your foot: dry socks and broken-in boots.
Walk every week
- 150 minutes a weekWalk at a brisk pace, for example 30 minutes a day, 5 days a week. You can split it into shorter sessions: some activity is always better than none.
- How to know you're on trackAt a moderate pace you can talk but not sing: that is an effort of 5 or 6 on a scale of 0 to 10. If you can barely say a few words without stopping to breathe, you're going too hard.
- Strength 2 days a weekWork your legs, hips, back, abdomen, chest, shoulders and arms. In soldiers, walking with a load improved with aerobic and strength exercise together, not with either alone.
- Build up bit by bitStart with short sessions and add time each week. The Army starts with light loads and short distances and raises them without rushing.
If you have heart disease, arthritis or diabetes, talk to your doctor before you start. Also if you have been inactive, have a disability or are overweight and plan to do hard exercise.
Carry little and carry it well
- Start far below the limitAccording to the US Army, a trained soldier carries up to 30% of body weight for fighting and up to 45% on a long march. Without training, start with much less and build up slowly.
- Practice with your packWalk with the load you expect to carry at least twice a month, and raise the weight and the distance little by little.
- Heavy items close to your bodyPut the heaviest items against your back, close to the center of your body, and fasten the hip belt: it moves part of the weight from your shoulders to your hips.
- Every kilo countsEach extra kilo (2.2 lb) lowers your performance by about 1% on tasks like running or getting over obstacles, and more weight means more blisters. Take out what you won't use.
A heavy, badly placed load carried for many kilometers damages the feet, knees, back and the nerves of the shoulder. If the pain is not your usual tiredness, stop and unload.
Care for your feet and your water
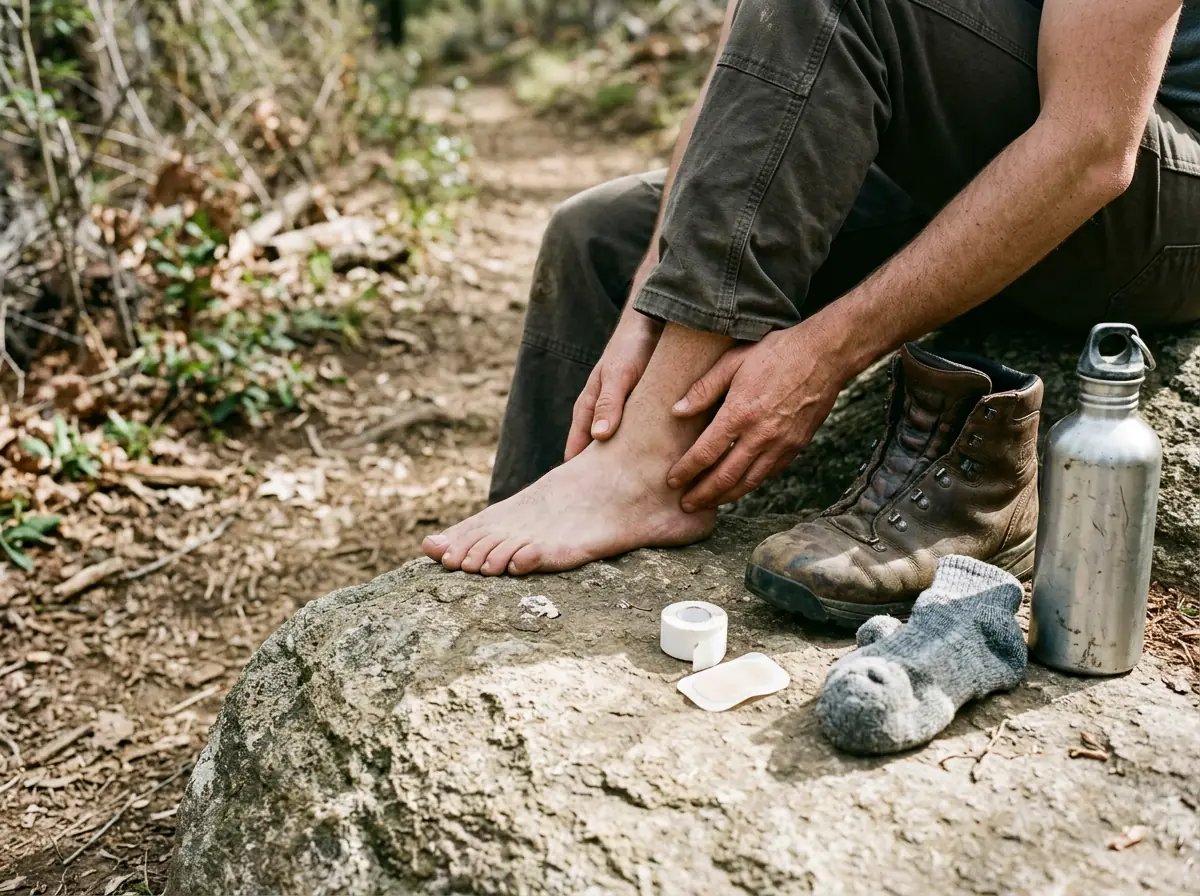
- Dry socks and broken-in bootsBlisters come mostly from wet socks and boots that don't fit or aren't broken in. Carry a spare dry pair, preferably wool with a cushioned sole, and leave a thumb's width between your big toe and the front of the boot.
- Stop at the first hot spotIf an area turns red and tender, stop and cover it with cloth tape, liquid bandage or a second-skin patch before a blister forms. If one has already formed, use donut-shaped moleskin (a felt pad) to take the pressure off.
- Rest and checkMake a short stop early on to retie your boots and adjust the load; after that, about 10 minutes every hour. The Army counts about 4 km/h (2.5 mph) with the rests included. At each stop, take off one boot at a time and check your feet.
- Water in small sipsDrink before, during and after walking, in small sips and even when you're not thirsty. Gulping can give you cramps or nausea.
Don't cover a blister with duct tape: its glue traps germs, and a blister is an open wound.
Check what you already have
0 of 5 · Saved only on this device.
- Loading the pack full and walking 20 km (12 miles) on the first day.
- Breaking in new boots or a new pack on the day of the emergency.
- Walking on with a red spot on your foot to «see if it goes away».
Sources: CDC · how much physical activity adults need · CDC · how to measure the intensity of physical activity · US Army foot marches manual · pace, rests, socks, boots and water (ATP 3-21.18) · Knapik and Reynolds · load carriage in military operations: a review · Military Medicine · carrying loads on the march: physical and medical aspects · American Hiking Society · blisters: how to prevent and treat them